Are you someone who has always been fascinated by the idea of creating something beautiful and unique with your own hands? Do you often daydream about the endless possibilities of what you could make if only you had the skills and tools to do so? Well, look no further than leatherworking!
Leatherworking is an art form that has been around for centuries, and for a good reason. It allows you to unleash your creativity and create one-of-a-kind, functional, and stylish pieces. Whether you’re a beginner or an experienced crafter, there’s always something new to learn and discover in the world of leatherworking.
In this blog, we’ll explore how leatherworking can unlock your creativity and help you develop your skills as a maker. From basic techniques to advanced projects, we’ll cover everything you need to know to start your leatherworking journey. So grab your tools, and let’s get crafting!
Leatherworking Basics
Leatherworking is a craft that has been around for centuries and involves working with animal hides to create a variety of items, including clothing, accessories, and even furniture. While it may seem intimidating initially, leatherworking can be a very rewarding hobby once you understand the basics. Here are some of the key things you need to know to get started.
Tools: What You Need

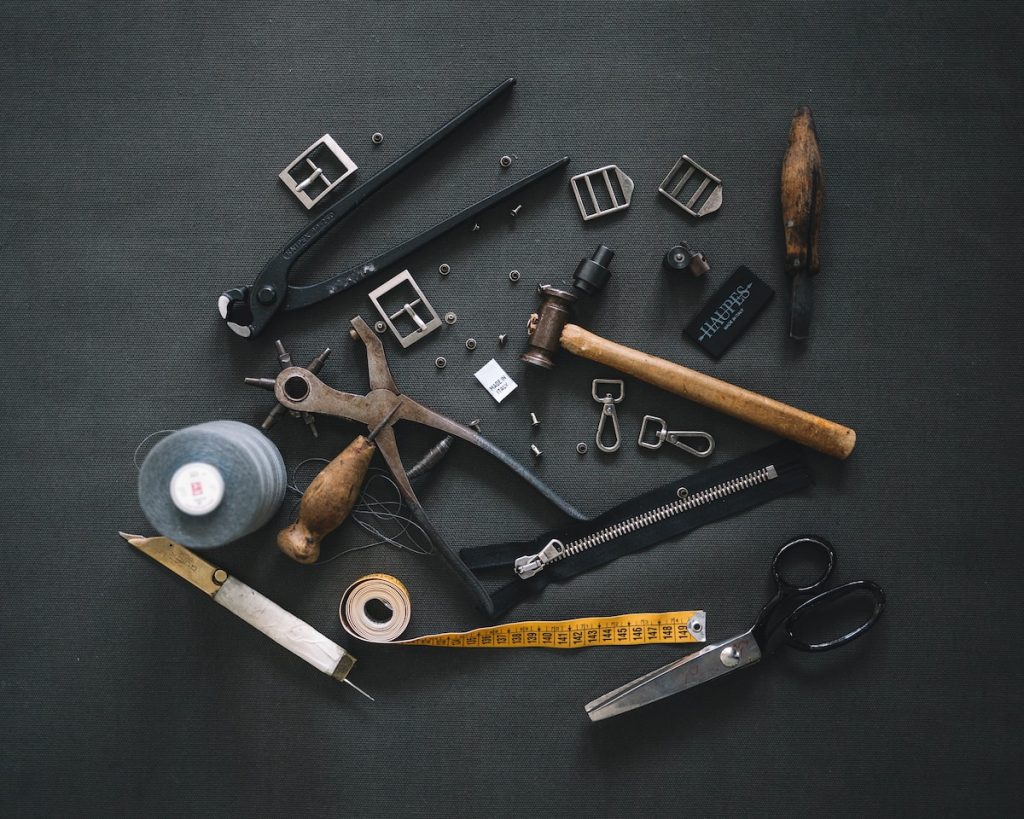
Leatherworking requires a variety of tools to work with leather effectively. As a beginner, it may be difficult to know which tools you need, but with time and experience, you’ll learn which tools are essential to your craft. Here are some basic tools that every leatherworker should have in their toolkit:
- Cutting Tools: You’ll need a sharp cutting tool to cut the leather, and different options are available. A utility knife, a rotary cutter, or a pair of sharp scissors are common choices. However, a utility knife is probably the most versatile and useful option.
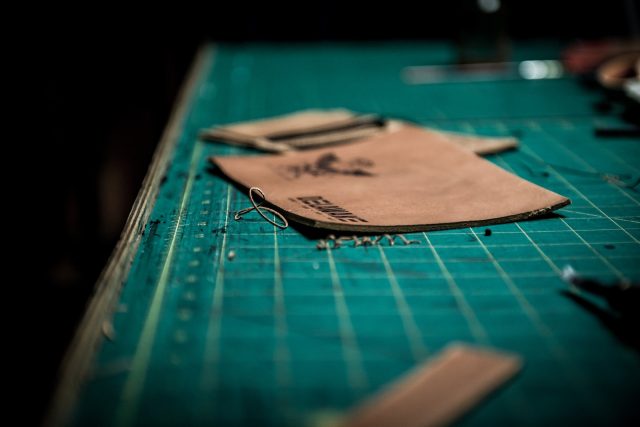
- Cutting Mat: A cutting mat is a self-healing mat that you place under the leather to protect your work surface and the blade of your cutting tool.
- Hole Punch: You’ll need a leather punch to make holes for stitching or adding hardware like rivets or snaps. The size of the hole punch you need will depend on the thickness of the leather and the size of the holes you want to make.
- Stitching Needles: A set of stitching needles is essential for sewing leather. These needles are stronger and thicker than regular sewing needles, making them perfect for piercing through the leather.
- Thread: Waxed thread is the best type of thread for leatherworking because it’s strong and durable. Different types of waxed thread are available, so choose the one that suits your project.
- Edge Beveler: An edge beveler is used to smooth and round the edges of your leather to give it a finished look. This tool is especially useful for leather that is thicker than 4-5 ounces.
- Edge Dye: An edge dye is used to color the edges of your leather. This gives your project a professional finish and prevents the edges from fraying over time.
With these tools, you’ll be well on your way to creating beautiful leather projects that are both functional and stylish.
Crafting Techniques: Step-by-Step Guide
Leather crafting can initially seem intimidating, but you can create beautiful and functional pieces with the right tools and techniques. Here’s a step-by-step guide to some basic leather crafting techniques to get you started:
- Cutting the Leather: Start by tracing your pattern onto the leather using a pen or marker. Then, use a sharp utility knife or rotary cutter to cut along the traced lines. Be sure to use a cutting mat to protect your work surface.
- Punching Holes: Next, use a leather punch to make holes for stitching or adding hardware. Use the appropriate size punch for the thickness of your leather and the size of the holes needed.
- Stitching: Thread a stitching needle with waxed thread and tie a knot at one end. Insert the needle through the first hole and pull the thread through until the knot is snug against the leather. Continue stitching, pulling the thread tight as you go until you reach the end.
- Burnishing: Burnishing is the process of rubbing the edge of the leather with a burnishing tool and water to smooth and polish the edge. Wet the edge of the leather and use a burnishing tool to rub it until it’s smooth and shiny.
- Dyeing: To dye the leather, use a sponge or brush to apply the dye evenly over the surface. Be sure to test the dye on a small, inconspicuous area first to ensure the color is what you want. Let the leather dry completely before handling.
- Finishing: Apply a leather conditioner or finish to protect the leather and give it a polished look. Rub the conditioner or finish into the leather with a soft cloth and let it dry completely.
With these basic techniques, you can create various leather projects, from simple keychains to more complex bags and accessories. Don’t be afraid to experiment and try new techniques as you become more comfortable with leatherworking.
Design Tips: Inspiration and Ideas

Designing a leather project can be a fun and creative process, but it can also be challenging to come up with fresh ideas and inspiration. Here are some design tips to help you get started:
- Look for Inspiration: Start by browsing leather projects online, in magazines, or at local leather shops for inspiration. Pay attention to each project’s design details, color combinations, and techniques.
- Sketch Your Ideas: Use a sketchbook to sketch your ideas before cutting your leather. This will help you visualize the final product and make any necessary adjustments before you start working with the leather.
- Choose the Right Leather: Different types of leather have different textures, finishes, and thicknesses, so be sure to choose the right leather for your project. Consider the leather’s durability, flexibility, and appearance before making your final choice.
- Mix and Match: Experiment with mixing different types of leather or incorporating non-leather materials like metal or fabric into your design. This can add an interesting and unique element to your project.
- Think Outside the Box: Don’t be afraid to try new techniques or incorporate unexpected elements into your design. For example, you could try stamping or embossing the leather, using leather paints or dyes, or adding decorative hardware or stitching.
- Keep it Simple: Sometimes, the most elegant designs are the simplest. Don’t feel like you need to add a lot of embellishments or details to your project to make it stand out. A clean and minimal design can be just as striking.
By following these design tips, you’ll be able to create beautiful and unique leather projects that showcase your creativity and skills. Remember, practice makes perfect, so keep experimenting and trying new things!
Finishing Touches: Adding the Final Details
Finishing touches can make a huge difference in the overall appearance of a leather project. Here are some tips for adding those final details to your project:
- Add Hardware: Hardware like buckles, clasps, and zippers can add functionality and style to your project. Choose hardware that matches the overall design and aesthetic of your project.
- Edge Finish: A clean and polished edge can give your project a professional look. Use an edge beveler to shave off any rough edges, and then use a burnishing tool to smooth and polish the edge.
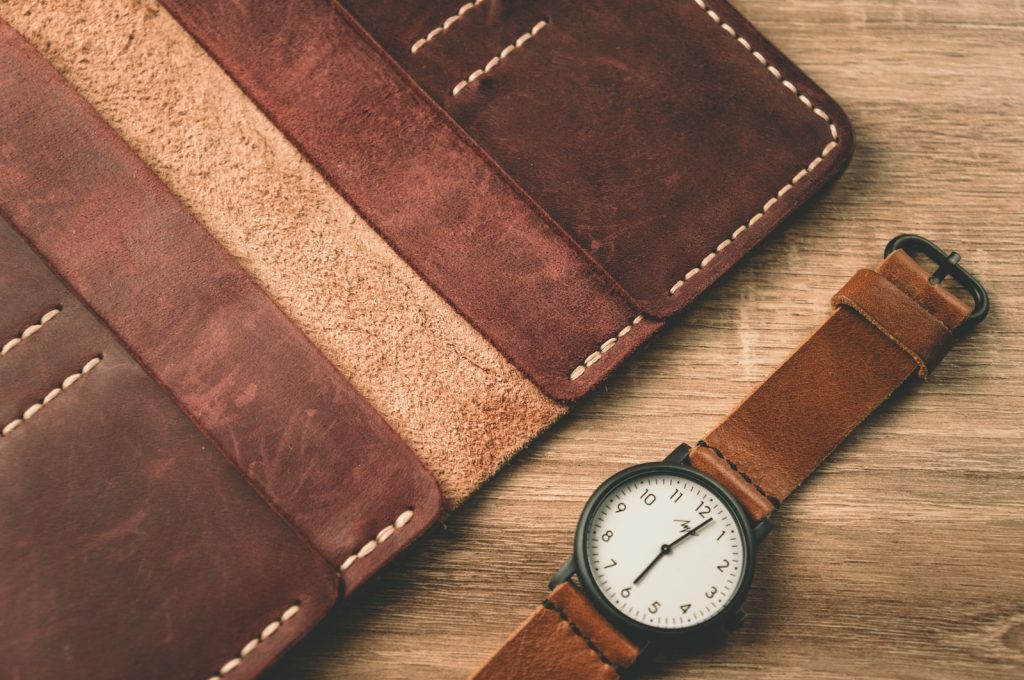
- Decorative Stitching: Adding decorative stitching can give your project a unique and personalized touch. Experiment with different stitching patterns and thread colors to find the perfect combination for your project.
- Embellishments: Consider adding embellishments like studs, rivets, or leather stamps to your project to make it stand out. Just be sure not to overdo it, as too many embellishments can detract from the overall design.
- Personalization: Adding a monogram or personalized message to your project can make it unique. Use leather stamps or a laser engraving tool to add your personal touch.
- Condition and Protect: Once you’ve added all the final details, be sure to condition and protect your leather to keep it looking its best. Use a leather conditioner and finish to protect the leather from moisture and stains and give it a polished look.
With these finishing touches, your leather project will be complete and ready to use or display. Remember, the final details are what can make your project truly special, so take your time and enjoy the process!
Conclusion: Unleash Your Creativity!
In conclusion, leatherworking is a versatile and rewarding hobby that allows you to unleash your creativity and make functional and stylish projects. You can create beautiful and unique pieces that showcase your skills and personality with the right tools, techniques, and design tips. So, grab some leather, put on your crafting apron, and let your imagination run wild! And remember, if all else fails, just add more studs and call it a day.


