Crafting your own knife
Knife-making is an art form that requires plenty of skill, patience, and creativity. Crafting a knife from raw materials is incredibly rewarding and a great way to express your style. Whether you’re a beginner or an experienced knife maker, making your knife can be a fun and challenging experience. With the right tools and knowledge, it’s possible to make high-quality knives in your own home workshop.
Tools and Materials Needed

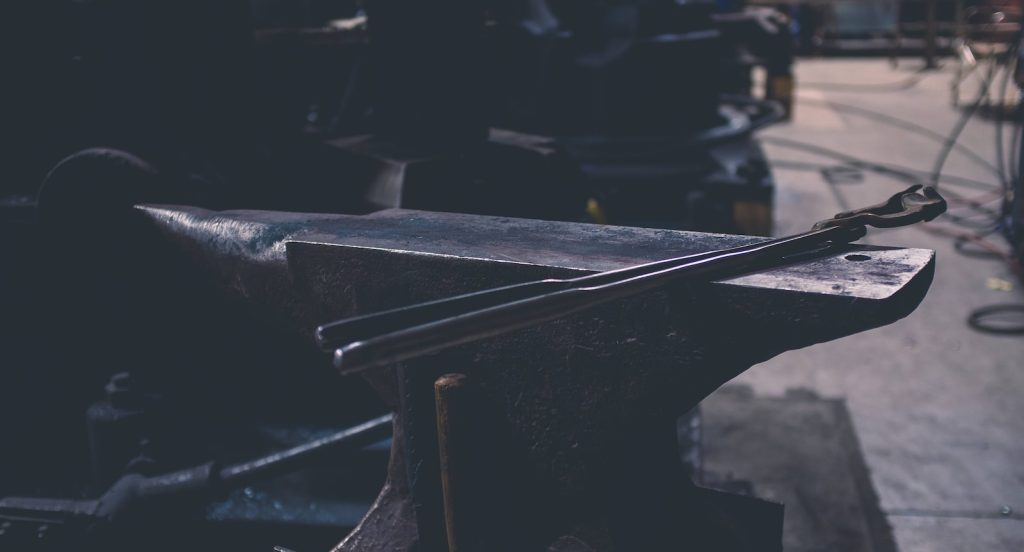
Making your own knife can be a fun and rewarding experience. Building your own custom blade from scratch gives you full control of the end product and offers a unique opportunity for personal expression and customization. You will need basic tools and materials such as metal stock, an anvil, a hammer, a forge, a drill press, or a belt grinder to get started. You’ll also need additional items such as high-carbon steel rod or flat bar stock for the blade’s edge and tang; a handle material like wood or antler; pins to secure the handle to the tang; a heat source like charcoal briquettes or propane; protective gear such as gloves, safety glasses or face shield; and various grinding materials like sandpaper. With these items on hand, you’ll be well on making your own handmade knife!
Step 1: Designing the Knife
Making your own knife is a rewarding experience that can save you money and give you an item of personal worth. With the right tools, preparation, and steps, any beginner can make their own customized knife in no time. Designing the Knife is one of the most essential parts of making your own knife.
First, you must decide what kind of blade shape you want. You can choose from various shapes, such as drop point, clip point, or tanto-style blades. Consider what type of use the knife will have, whether for camping trips or day-to-day tasks like slicing food. Once you’ve chosen your desired blade shape, consider its size – longer blades are better for larger jobs, while shorter blades are for more precise cutting tasks.
Step 2: Making a Template
Creating a knife is no small task. Crafting one requires the right tools, materials, and understanding of the process. Before you begin the actual forging of your own knife, it’s important to create a template. Making a template will ensure that your knife is consistent in shape and size throughout the process.
To make a template, measure how large you would like your blade to be on paper or cardstock. Next, draw out the general shape you would like for your blade with markers or pencils. This will give you an idea of what area to forge later on in the process. After outlining the shape, cut out the paper along those lines with scissors or an X-acto knife for more precise edges. Your cutting should resemble what you desire for your final product: a symmetrical blade uniform from the tip to the handle.
Step 3: Heating and Shaping the Metal
Step three in the process of creating a handmade knife is heating and shaping the metal.
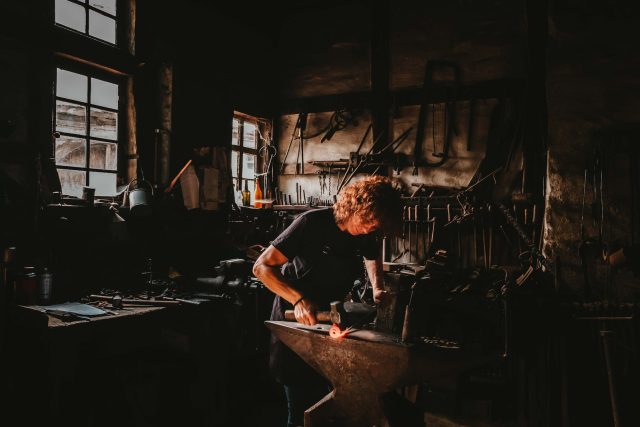
The blade of the knife must first be heated to allow it to become malleable, so it can be reshaped with hammering. The heat treatment gives the blade its hardness by allowing for controlled cooling, which changes certain steel properties, such as strength and durability. To heat treat your metal correctly, you’ll need an appropriate heat source, such as a forge or kiln, and various tools like hammers, files, and grinders. Once appropriately heated, start by forging out any rough edges with hammering before gradually reshaping it into its desired shape.
Step 4: Handle and Fittings
The next step of the process involves handling and fittings. This part of the process entails crafting the handle for the knife and connecting it to the blade with metal components.
The knife handle should feel comfortable in your hand and provide a good grip when you’re using it. You’ll need to choose from multiple materials for your handle’s construction, including wood, plastic, horn, or antler. The best way to ensure you get a good fit is by carving out a groove to place your blade before gluing it into place with epoxy resin or an adhesive such as JB Weld. Once secured, use rivets or screws to secure additional pieces that will serve as guards against both slipping fingers and potential damage, such as corrosion or wear on the blade’s edge.
Step 5: Finishing Touches
When it comes to making your own knife, the finishing touches are what will make or break your work. The last step in the process of creating a handmade knife is all about giving it that perfect look and feel.
The blade must first be sharpened and polished for a professional finish. This can be done using various tools such as grinders, files, polishing stones, and other abrasives. Once you have achieved the desired level of sharpness and polish, it’s time to add any desired etching or engravings. If you want something more personalized, then this is a great opportunity to express yourself with some unique artwork.
Once everything is complete, you should apply an oil coating to protect your blade from rusting and corrosion over time.
Making your own Knife
The art of knife-making is an age-old tradition that has been passed down from generation to generation and is still practiced today. Making your own knife can be a rewarding experience, resulting in a beautiful, functional tool you created with your own two hands. With the right tools and materials, anyone can unlock this new crafting level and create their own unique custom knife.
Creating your own custom knife requires attention to detail as well as patience and dedication. You’ll need to select the right blade steel and handle material and craft everything together carefully through grinding, heat treating, polishing, and more. With practice comes mastery; once you’ve completed your first project, the sky is the limit on what you can create next!


